
Custom Computer Building: What You Need to Know
- Jun 12
- 4 min read
Building a custom computer can be an exciting and rewarding experience. Whether you're a gamer looking for the best performance, a professional needing a powerful workstation, or simply someone who enjoys tinkering with technology, creating your own PC allows you to tailor every component to your specific needs. In this guide, we will explore everything you need to know about custom computer building, from selecting the right parts to assembling your machine.
Understanding Your Needs
Before diving into the world of custom computer building, it's essential to understand your specific needs. Ask yourself the following questions:
What will you use the computer for?
- Gaming
- Video editing
- Graphic design
- General use (browsing, office work)
What is your budget?
- Setting a budget will help narrow down your options and prevent overspending.
Do you have any brand preferences?
- Some users prefer specific brands for reliability or performance.
Understanding your needs will guide your component selection and ensure that your custom build meets your expectations.
Choosing the Right Components
Once you have a clear idea of your requirements, it's time to select the components for your build. Here are the essential parts you'll need:
Central Processing Unit (CPU)
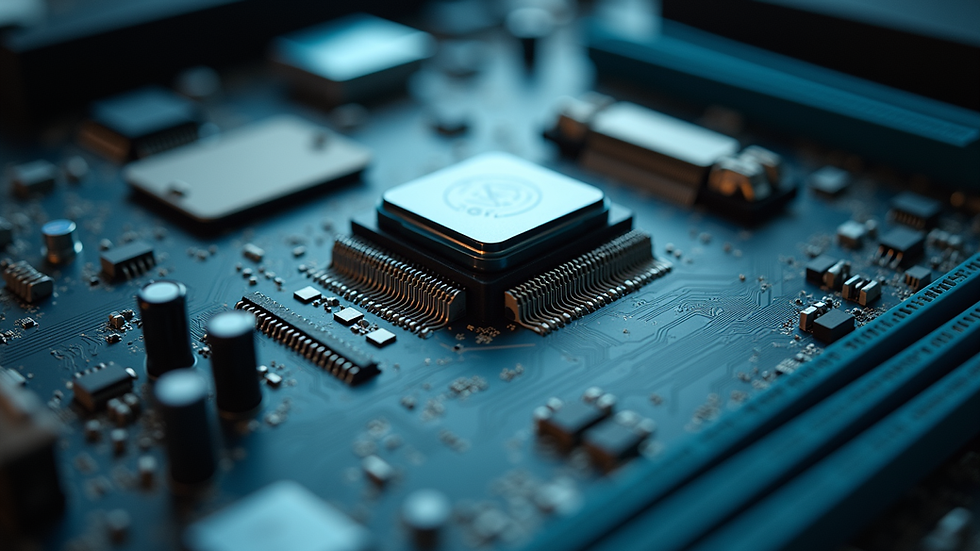
The CPU is the brain of your computer. It processes instructions and performs calculations. When choosing a CPU, consider:
Performance: Look for the number of cores and threads. More cores can handle multitasking better.
Compatibility: Ensure the CPU is compatible with your motherboard.
Popular options include Intel's Core series and AMD's Ryzen series.
Motherboard
The motherboard connects all your components. When selecting a motherboard, consider:
Form Factor: Ensure it fits in your case (ATX, Micro-ATX, Mini-ITX).
Socket Type: Match it with your CPU's socket.
Features: Look for USB ports, RAM slots, and expansion slots.
Graphics Processing Unit (GPU)
The GPU is crucial for gaming and graphic-intensive tasks. Key factors include:
Performance: Look for VRAM and benchmark scores.
Brand: NVIDIA and AMD are the leading manufacturers.
Memory (RAM)
RAM affects your computer's speed and multitasking capabilities. Consider:
Capacity: 16GB is a good starting point for gaming and general use, while 32GB or more is ideal for heavy multitasking or professional applications.
Speed: Higher MHz can improve performance.
Storage
You have two main options for storage:
Hard Disk Drives (HDD): More affordable and offers larger storage capacities.
Solid State Drives (SSD): Faster and more reliable, but typically more expensive.
A combination of both (SSD for the operating system and HDD for storage) is often recommended.
Power Supply Unit (PSU)
The PSU powers your components. When selecting a PSU, consider:
Wattage: Ensure it can handle your components' power requirements.
Efficiency Rating: Look for 80 Plus certification for better efficiency.
Case
The case houses all your components. Consider:
Size: Ensure it fits your motherboard and has enough space for your GPU.
Cooling Options: Look for cases with good airflow and space for additional fans.
Cooling Solutions
Proper cooling is essential to maintain performance and longevity. Options include:
Air Coolers: Generally more affordable and easier to install.
Liquid Coolers: More efficient but can be more complex and expensive.
Assembling Your Custom PC
Now that you have all your components, it's time to assemble your custom PC. Follow these steps for a successful build:
Step 1: Prepare Your Workspace
Find a clean, static-free area to work.
Gather your tools, including a screwdriver and anti-static wrist strap.
Step 2: Install the CPU
Open the CPU socket on the motherboard.
Align the CPU with the socket and gently place it in.
Secure the CPU in place.
Step 3: Install the RAM
Locate the RAM slots on the motherboard.
Open the clips on the slots.
Align the RAM sticks with the slots and press down until they click into place.
Step 4: Install the Motherboard
Place the motherboard in the case, aligning it with the standoffs.
Secure it with screws.
Step 5: Install the GPU
Locate the PCIe slot on the motherboard.
Remove the corresponding backplate from the case.
Insert the GPU into the PCIe slot and secure it.
Step 6: Install Storage Drives
Mount the SSD and/or HDD in the designated bays.
Connect the SATA cables to the motherboard and power supply.
Step 7: Connect the PSU
Connect the PSU cables to the motherboard, GPU, and storage drives.
Ensure all connections are secure.
Step 8: Install Cooling Solutions
If using an air cooler, follow the manufacturer's instructions for installation.
For liquid coolers, ensure the radiator is mounted correctly and connected to the CPU.
Step 9: Power On and Test
Connect the power cable and turn on the computer.
Enter the BIOS to check if all components are recognized.
Installing the Operating System
Once your PC is assembled and powered on, it's time to install the operating system. Follow these steps:
Create a Bootable USB Drive: Use a tool like Rufus to create a bootable USB drive with your desired OS (Windows, Linux, etc.).
Boot from USB: Restart your computer and enter the BIOS to set the USB drive as the primary boot device.
Follow Installation Instructions: Follow the prompts to install the operating system.
Troubleshooting Common Issues
Even with careful assembly, you may encounter issues. Here are some common problems and solutions:
No Power: Check all connections and ensure the PSU is functioning.
No Display: Ensure the GPU is properly seated and connected.
Overheating: Check airflow and ensure all fans are functioning.
Upgrading and Maintaining Your Custom PC
Once your custom PC is up and running, consider these tips for upgrades and maintenance:
Regularly Clean Dust: Dust can accumulate and affect performance. Use compressed air to clean components.
Monitor Temperatures: Use software to monitor CPU and GPU temperatures.
Upgrade Components: As technology advances, consider upgrading your GPU or adding more RAM for improved performance.
Conclusion
Building a custom computer is a fulfilling project that allows you to create a machine tailored to your needs. By understanding your requirements, selecting the right components, and following proper assembly procedures, you can enjoy a powerful and efficient computer. Remember to maintain and upgrade your system as needed to keep it running smoothly. Happy building!
Comments